When a pipe bursts at midnight or a toilet rapidly overflows onto your bathroom tile, panic is usually the immediate reaction. Homeowners often find themselves scrambling for towels while watching water damage spread across their floors. However, knowing how to manage an emergency plumbing situation before professional help arrives can mean the difference between a quick repair job and tens of thousands of dollars in structural restoration.
Plumbing systems operate under constant water pressure, meaning even a minor breach can unleash gallons of water in minutes. Having a clear, step-by-step action plan gives you complete control over the situation. This comprehensive guide walks you through the essential steps to stabilize a plumbing crisis, minimize damage, safely troubleshoot common issues, and decide when to call in a professional fast.
Step 1: Locate and Shut Off Main Water Valves Immediately
The most critical action during any sudden pipe burst, major leak, or uncontrolled fixture overflow is halting the flow of incoming water. Every second water pours into your living space increases the risk to your flooring, drywalls, electrical systems, and subflooring.
The Main Shut-Off Valve
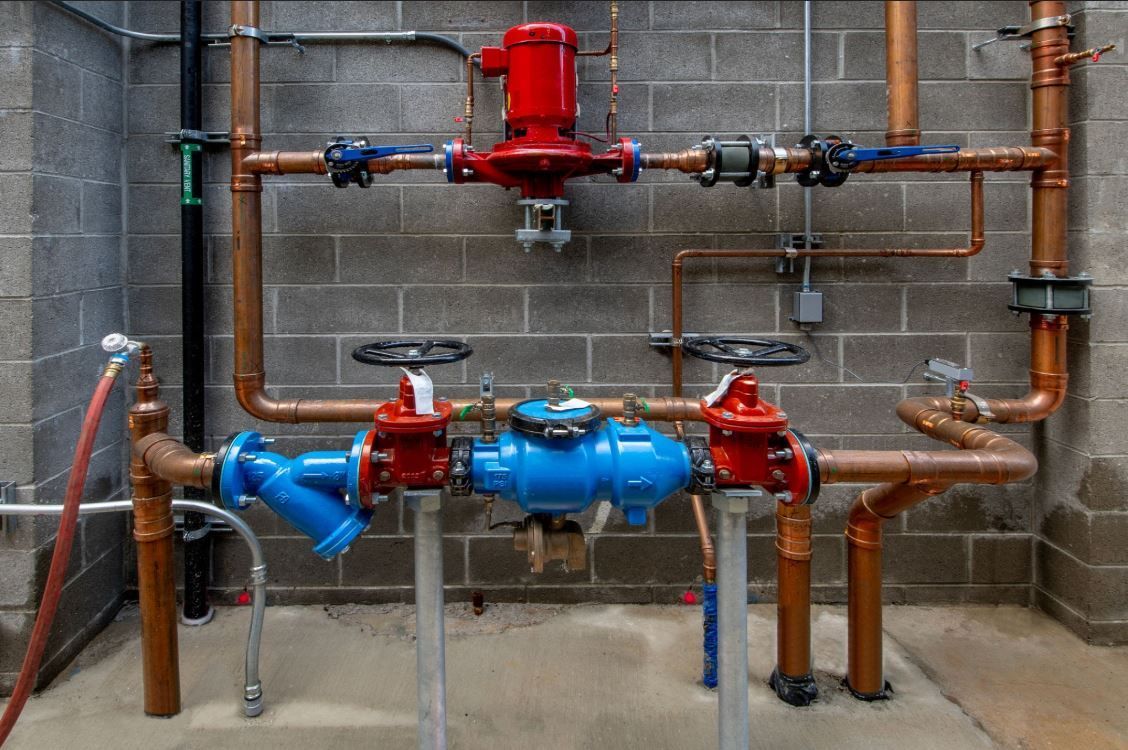
Every property owner should know the exact location of their main water shut-off valve long before a crisis occurs.
- Where to look: Main shut-off valves are typically located on an exterior wall, inside a basement or crawlspace near the front of the home, or in a covered underground meter box near the street or driveway.
- How to turn it off:
- Gate Valves: Turn the circular wheel handle clockwise until it stops completely.
- Ball Valves: Turn the lever handle a quarter-turn until the handle stands perpendicular (90 degrees) to the pipe itself.
Local Isolation Valves
If the issue is isolated to a single fixture—such as a running toilet or a leaking sink supply line—you can shut off the water locally without disabling water to the entire house.
- Toilets: Look for the small oval handle behind the toilet tank near the wall. Turn it clockwise until hand-tight.
- Sinks & Vanities: Open the cabinet doors beneath the sink and locate the hot and cold supply line shut-off valves on the wall. Rotate both clockwise.
- Washing Machines: Locate the dual hose connections on the wall behind the appliance and turn both lever knobs off.
Step 2: Turn Off Hot Water Systems and Main Utilities
Once the primary water source is closed off, you must protect your home's appliances from severe damage caused by running while empty. Heating elements and water heaters can overheat and burn out quickly if water drains out while power or gas remains active.
Water Heater Protection
If you have shut off the main water valve to the property, your water heater tank could drain partially or completely due to siphonage or open low-tier taps.
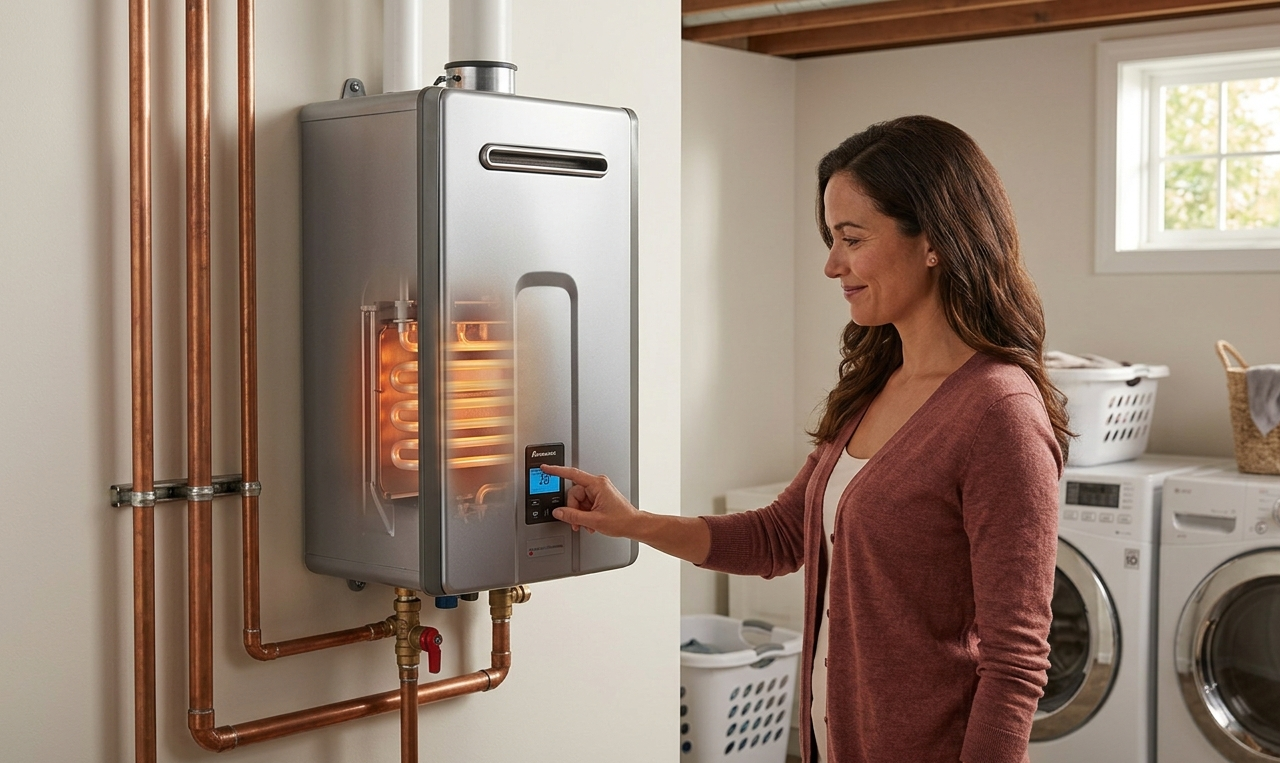
- Electric Water Heaters: Head directly to your main electrical circuit breaker panel and switch off the dedicated breaker assigned to the water heater.
- Gas Water Heaters: Locate the gas control valve dial on the front lower panel of the water heater tank. Turn the dial to the "OFF" or "PILOT" setting to prevent the burner from cycling without adequate water pressure.
Electrical Safety Measures
Water and electricity create an immediate life-safety hazard. If leaking water has entered electrical outlets, power strips, light fixtures, or baseboard heaters:
- Do not step into standing water if electrical power is active in that zone.
- Go straight to your main breaker box and shut off power to the affected rooms or floors.
- If the main breaker box itself is located in a flooded area, call your local electric utility provider immediately to perform an exterior service disconnect.
Step 3: Open Faucets to Drain Remaining Pipe Water
Even after turning off the main supply valve, several gallons of water remain trapped inside your home's internal pipe network. If a pipe is fractured, this trapped pressure will continue to force water out through the leak point until the system empties completely.
Relieving System Line Pressure
To stop residual leakage as quickly as possible, you need to redirect the trapped water out through safe drains:
- Locate the outdoor hose spigots (sillcocks) at the lowest exterior points of your home and open them fully.
- Turn on the lowest interior faucets in your basement, laundry room, or ground-floor bathrooms.
- Open both the hot and cold taps to allow trapped air to enter, accelerating the drainage process away from the damaged area.
By opening these lower fixtures, gravity pulls remaining water down and out through the outdoor or basement drains, relieving pipe pressure away from wall cavities and upper floors.
Step 4: Assess Common Household Plumbing Crises
Not all plumbing incidents stem from the exact same root cause. Identifying the precise nature of the failure helps you contain the immediate mess and communicate accurate details when booking emergency plumbing service calls.
Burst or Severely Cracked Pipes
- Primary Causes: Freezing temperatures, extreme water pressure spikes, severe corrosion in aged galvanized steel, or physical tree root intrusion.
- Immediate Response: Shut off the main water valve immediately. Do not attempt temporary wraps while pipes are pressurized. Wipe away exterior moisture once drained and apply heavy-duty silicone tape or an emergency pipe repair clamp as a temporary buffer.
Major Sewage Line Backups
- Primary Symptoms: Multiple drains gurgling simultaneously, sewage backing up into shower basins or tub drains when flushing toilets, or strong foul odors coming from floor drains.
- Immediate Response: Stop using all water instantly. Do not run sinks, dishwashers, or washing machines, and refrain from flushing any toilets. Any additional water added to the drainage network will continue backing up into low-lying home fixtures.
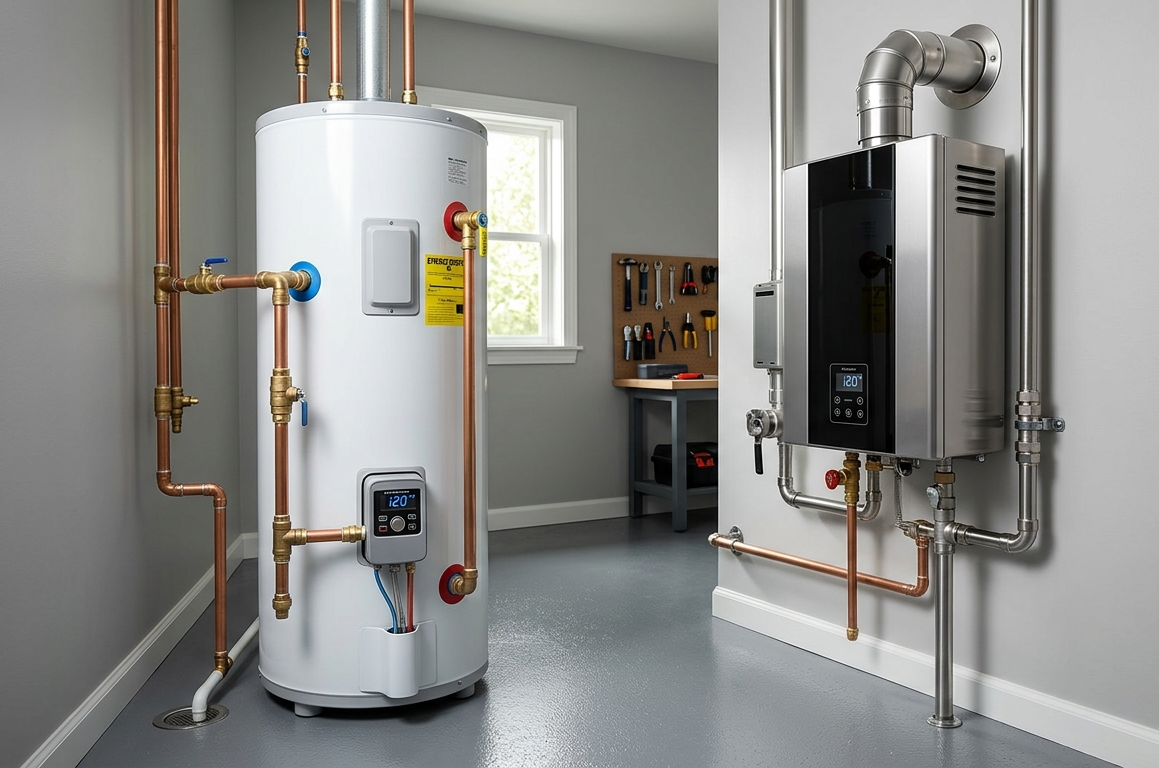
Severe Water Heater Leaks
- Primary Causes: Internal tank corrosion, blown relief valves (T&P valves), or ruptured flexible supply connectors.
- Immediate Response: Turn off the cold water supply valve feeding directly into the top of the heater tank. Turn off the heating element power or gas control knob immediately to prevent tank implosion or element burnout.
Rapidly Overflowing Toilets
- Primary Causes: Clogged trapways, faulty fill valves, or blocked drain vents.
- Immediate Response: Reach behind the base of the toilet bowl and turn the local shut-off valve clockwise. If the valve is stuck, open the top lid of the toilet tank, reach inside, and lift the float ball or float cup manually to stop the valve from filling the bowl while you turn off the local valve.
Step 5: Execute Safe Temporary Containment Tactics
While waiting for professional assistance, taking active containment steps drastically cuts down on structural damage and mold growth risks.
+-------------------------------------------------------------------+
| CRISIS CONTAINMENT ACTION PLAN |
+-------------------------------------------------------------------+
| 1. Stop Incoming Flow ---> Shut off local or main water valves |
| 2. Relieve System ---> Open low exterior and interior taps |
| 3. Isolate Power ---> Cut breaker power to affected zones |
| 4. Contain Moisture ---> Catch water in buckets; apply tape |
| 5. Clear Standing Water---> Use mops, towels, or wet/dry vacuum |
| 6. Ventilate Space ---> Open windows and run high-power fans |
+-------------------------------------------------------------------+
Catching and Diverting Water
- Place broad plastic buckets or storage bins under active ceiling drips or pipe joint drops.
- If water is running down a wall, press a string or cloth tape against the leak path and run it directly into a bucket below to channel water cleanly into the container.
Clearing Standing Water
- Use a dedicated wet/dry shop vacuum to extract standing pools of water from hard tile, vinyl, or low-pile carpet floors.
- Pile heavy-duty bath towels or thick blankets along doorways to block water from seeping into adjacent rooms or underneath baseboards.
- Never use a standard household vacuum cleaner on liquid, as doing so poses severe electrocution and motor failure risks.
Drying and Ventilation
- Open windows and exterior doors if atmospheric humidity outside is low.
- Position floor fans, box fans, and dehumidifiers directly toward damp drywall and wood framing to kickstart structural drying. Speed is crucial, as mold spores can begin colonizing damp building materials within 24 to 48 hours.
Step 6: Avoid Common DIY Emergency Plumbing Mistakes
When under stress during a house flooding event, well-meaning home remedies often worsen pipe damage or create costly plumbing repairs. Avoiding common pitfalls protects both your plumbing hardware and your physical safety.
Avoid Using Chemical Drain Cleaners
When faced with a total clog or standing water, pouring bottle after bottle of harsh chemical drain cleaners down the sink or toilet bowl is extremely dangerous.
- Caustic Damage: Chemical cleaners generate high heat through chemical reactions, which can warp PVC plastic pipes, melt rubber seals, or weaken aging cast iron lines.
- Chemical Hazards: If the cleaner fails to remove the blockage, your sink or tub remains filled with toxic, caustic liquid. This poses severe burn hazards to you and to any technician who must work on the line.
Do Not Over-Tighten Pipe Fittings
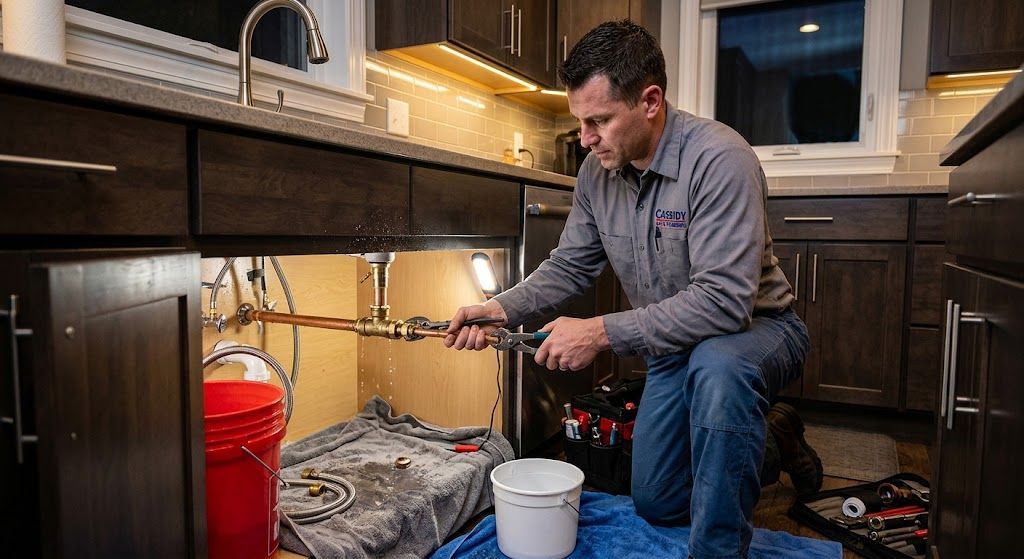
When attempting to stop a dripping pipe joint or valve stem with a wrench, over-torquing metal threads or plastic slip-nuts can cause sudden structural snapping, transforming a minor drip into an open gusher.
- Always use two wrenches when tightening threaded fittings: one tool to hold the pipe body stable and a second wrench to gently tighten the retaining nut.
- Turn hardware firmly, but stop once resistance increases to avoid cracking delicate fixture housings.
Never Force Frozen Pipes Open with Direct Heat
If your emergency is caused by frozen water lines in winter, applying an open flame (propane torch) directly to frozen metal or PVC pipes creates a catastrophic explosion hazard from trapped steam, while introducing an extreme fire risk to interior wall framing.
- Instead, use mild, indirect heat sources such as a hairdryer on medium setting, space heaters placed at a safe distance, or warm towels wrapped around the frozen pipe section.
- Always keep the closest tap open while thawing so that expanding water and pressure can escape safely.
Step 7: Know When to Call Professional Plumbers
While temporary fixes like pipe clamps, silicone wraps, and bucket containment give you precious time, they are temporary measures. Knowing when a situation exceeds basic DIY handling ensures your home receives safe, code-compliant repairs.
Scenarios Requiring Immediate Professional Service
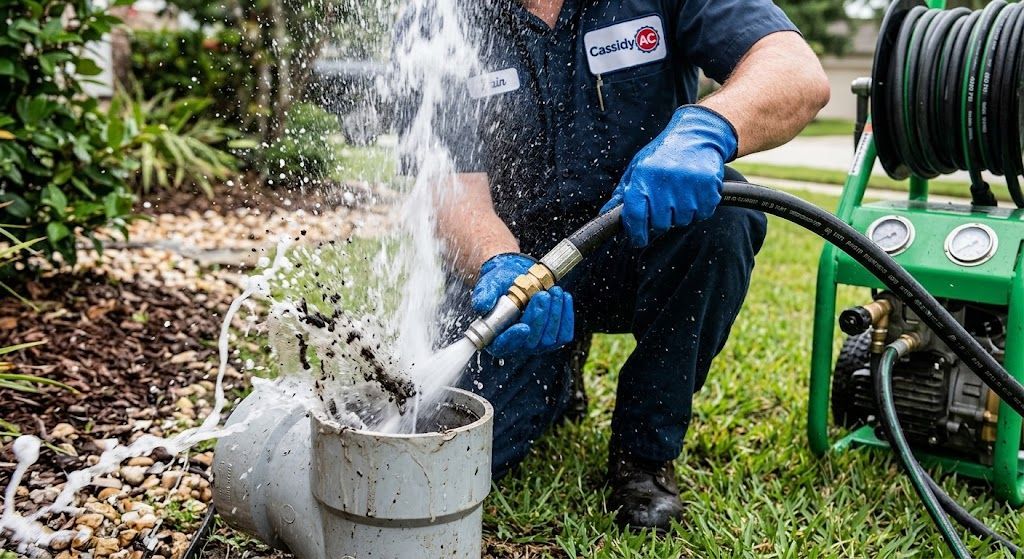
- Main Sewer Line Blockages: Requires commercial-grade drain snakes, hydro-jetting equipment, or video camera pipe inspection to locate and break up deep root intrusions or cracked underground lines.
- Gas Line Leaks or Rotten Egg Odors: Requires immediate evacuation of the property, contacting the gas utility from a safe distance, and professional certified gas line testing.
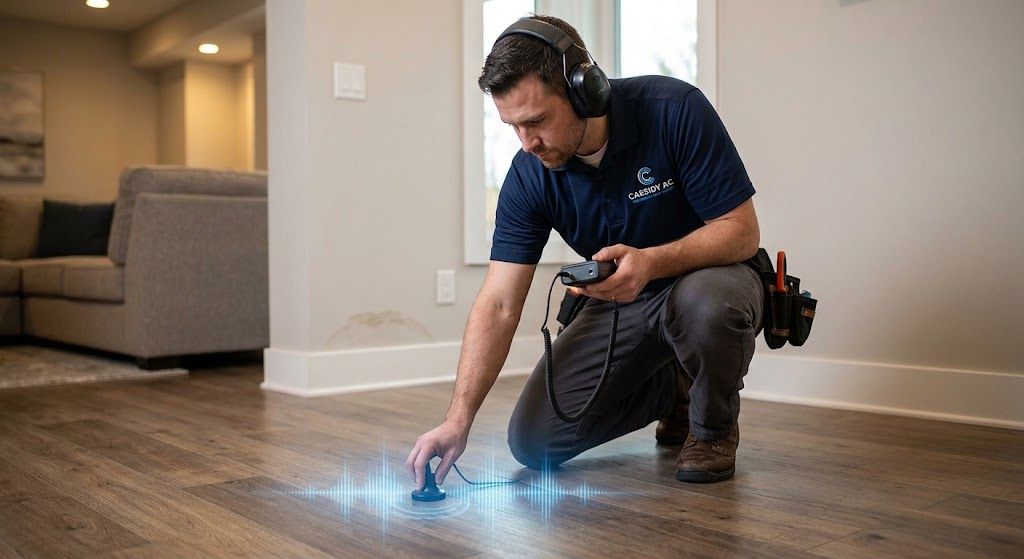
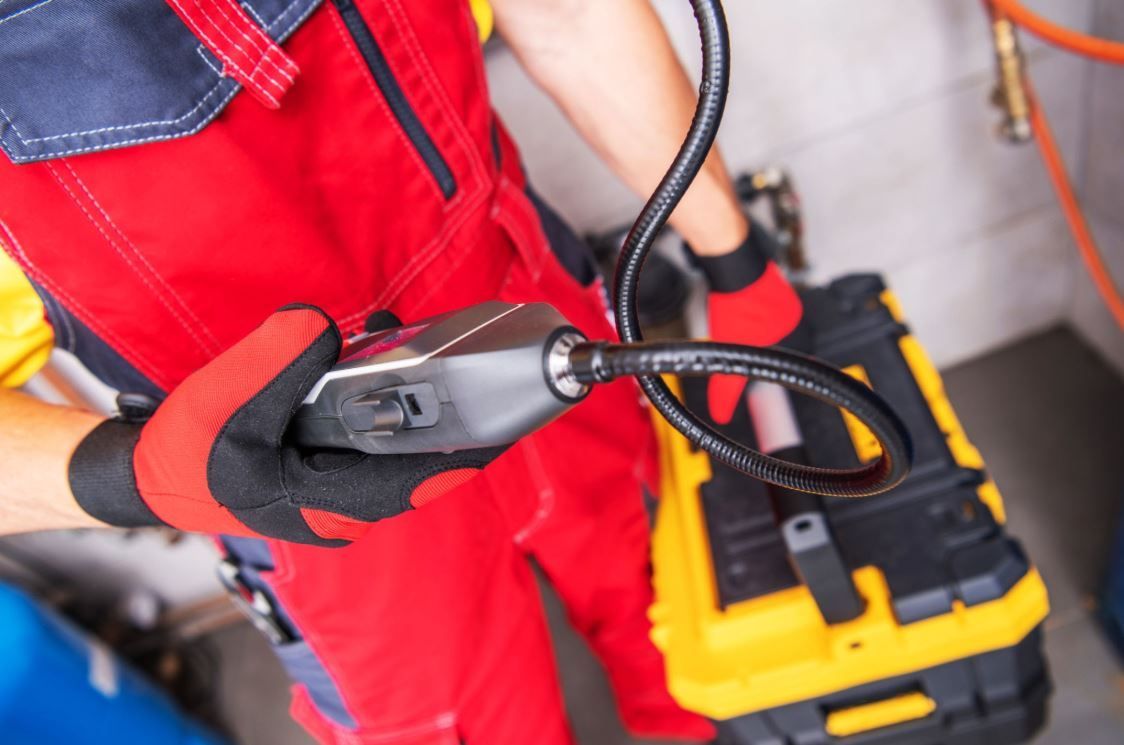
- Hidden In-Wall Leaks: Requires non-invasive acoustic or thermal leak detection technology to locate pipe fractures hidden behind drywall or underneath concrete slab foundations without tearing apart entire walls unnecessarily.
- Complete Water Heater Replacement: Demands licensed handling for high-voltage wiring, gas supply lines, vent flues, and local building permit compliance.
Preparing for Your Service Call
When contacting an emergency service provider, clear communication helps technicians arrive with the exact tools and replacement parts required for your specific failure.
- Describe the symptoms precisely: Mention whether water is clear, greywater, or black sewage.
- State the structural material: Inform the operator whether your home uses copper, PEX, PVC, galvanized steel, or cast iron piping.
- Detail your containment actions: Let the technician know if you have successfully shut off the main water valve, drained the lines, or cut power to the area.
When facing severe home leaks or pipe ruptures, relying on dependable contractors who provide round-the-clock dispatch is vital to preserving your property. If you need 24/7 fast-response assistance, contact
emergency plumbing
specialists to quickly isolate structural leaks, restore clean water flow, and safeguard your living space against long-term water damage.
Emergency Plumbing Quick Reference Checklist
Keep this checklist saved on your phone or printed inside your utility closet for fast access when a crisis strikes:
- Locate Main Valve: Turn main incoming water valve off clockwise.
- Protect Water Heater: Turn off water heater circuit breaker or switch gas valve to "PILOT" mode.
- Drain System Lines: Open low outdoor spigots and basement taps to relieve residual line pressure.
- Isolate Power: Shut down electrical breakers to any rooms experiencing water accumulation.
- Contain Spills: Deploy catch buckets, towels, and wet/dry vacuums to clear standing water pools.
- Ventilate Space: Set up floor fans and dehumidifiers immediately to dry damp drywall and flooring.
- Call Professionals: Reach out to certified 24/7 emergency technicians for structural repairs.