Upgrading or replacing your home's heating and cooling system is one of the most significant investments you will make as a homeowner. A properly executed HVAC install ensures year-round thermal comfort, optimal indoor air quality, and manageable monthly utility bills. Conversely, a rushed or improper setup can lead to persistent mechanical issues, inflated energy bills, and premature system failure.
Navigating the installation process requires an understanding of how modern equipment operates, how home sizing works, and how to select the right system for your specific living space. This complete step-by-step guide walks you through everything you need to know to ensure a smooth, efficient, and long-lasting installation.
Step 1: Recognize When It Is Time to Replace Your Heating and Cooling Unit
Before diving into equipment specifications, evaluate whether your current setup truly needs a complete replacement or if a standard repair will suffice. Most central heating and air conditioning units have an average operational lifespan of 10 to 15 years. Beyond this age threshold, critical components like compressors, heat exchangers, and blower motors experience wear that drops overall system efficiency.
Key indicators that signal the need for a total upgrade include:
- Rising Energy Bills: A sudden increase in your monthly utility costs without a change in usage usually indicates declining mechanical efficiency.
- Frequent Repairs: If you find yourself calling a technician multiple times a season, cumulative repair costs will quickly outweigh the investment in new equipment.
- Uneven Temperatures: Cold or hot spots throughout your home often point to an aging system struggling to maintain air distribution.
- Excessive Noise or Dust: Strange banging sounds, persistent rattling, or an unusual accumulation of dust point to failing interior components or compromised ductwork.
Step 2: Determine the Proper Unit Size and Capacity
One of the most critical aspects of any residential setup is sizing. Installing an oversized unit leads to short-cycling, where the system turns on and off rapidly. Short-cycling prevents the equipment from properly dehumidifying your air, causes temperature swings, and places unnecessary wear on internal motors. Conversely, an undersized system will run continuously, failing to reach your desired thermostat setting on extreme weather days.
Professional technicians determine proper capacity by performing a detailed Manual J Load Calculation. This calculation goes beyond simple room square footage to account for key environmental variables:
- The total square footage and ceiling height of your living space.
- The quality, type, and age of your home's insulation in walls, attics, and basements.
- The total number of windows and doors, including their energy efficiency ratings (U-factor and SHGC).
- The directional orientation of your home relative to sun exposure throughout the day.
- Local climate patterns and average seasonal temperature ranges.
Matching system capacity to your home's true thermal load guarantees optimal comfort and long-term energy savings.
Step 3: Select the Right Equipment Type for Your Climate
Modern heating and cooling technology offers several equipment configurations. Choosing the correct setup depends on your regional climate, existing home infrastructure, and efficiency goals.
Central Split Systems
The traditional central split system remains the standard choice for homes with existing ductwork. This setup features an outdoor condenser unit paired with an indoor air handler or furnace. It delivers reliable, powerful airflow across large residential footprints.
Heat Pumps
Heat pump technology has advanced significantly in recent years. These versatile units handle both heating and cooling by transferring thermal energy rather than generating heat through combustion. They offer incredible electrical efficiency, making them an ideal choice for mild to moderately cold regions.
Ductless Mini-Split Systems
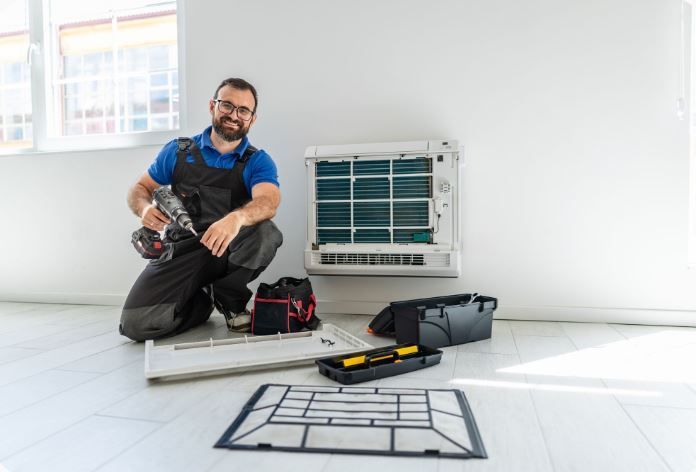
If your home lacks existing ductwork or if you wish to implement zoned temperature control, ductless mini-splits offer an efficient alternative. Individual indoor air handling units mount on interior walls, allowing you to customize temperatures in individual rooms while avoiding the energy losses associated with traditional duct runs.
Dual-Fuel Systems
Dual-fuel configurations pair an electric heat pump with a high-efficiency gas furnace. The system automatically switches between heating sources based on outdoor temperatures, utilizing the heat pump during mild conditions and engaging the furnace when freezing temperatures drop heat pump performance.
Step 4: Evaluate Energy Efficiency Ratings
Investing in high-efficiency equipment directly lowers your ongoing operational costs. When reviewing equipment specifications, look for standard industry efficiency metrics:
- SEER2 (Seasonal Energy Efficiency Ratio 2): Measures cooling efficiency over a typical cooling season. Higher SEER2 numbers indicate greater electrical efficiency.
- AFUE (Annual Fuel Utilization Efficiency): Measures heating efficiency for gas and oil furnaces. A system rated at 95% AFUE converts 95% of fuel directly into heat, wasting only 5%.
- HSPF2 (Heating Seasonal Performance Factor 2): Evaluates the heating efficiency of electric heat pumps.
Selecting high-efficiency, ENERGY STAR-rated equipment often qualifies homeowners for local utility rebates, state incentives, and federal tax credits, helping offset initial installation costs.
Step 5: Prepare Your Home for the Installation Day
Once you have selected your equipment, taking a few proactive steps helps ensure the installation crew can work safely and efficiently:
- Clear the Workspace: Clear away furniture, personal belongings, and decorative items around both indoor equipment closets and outdoor condenser pads.
- Provide Path Access: Ensure clear, unobstructed pathways through doorways, hallways, attics, or basements so technicians can transport heavy equipment safely.
- Secure Household Pets: Keep pets in a closed, quiet room or arrange off-site care to protect them from open doors, moving machinery, and heavy equipment.
- Inspect Existing Ductwork: Ask your technician to check your existing ducts for leaks, loose seals, or dust buildup. Sealing air leaks before installing new machinery prevents performance bottlenecks.
Step 6: Understand the Step-by-Step Installation Process
On the day of the job, a professional technician team will follow a precise mechanical protocol:
Removal of Old Equipment
Technicians begin by isolating electrical circuits and safely recovering any remaining refrigerant from your old cooling unit in accordance with environmental regulations. Once cleared, the old condenser, evaporator coil, and air handler are uninstalled and removed from your property.
Infrastructure Preparation
The crew prepares the concrete or composite pad outdoors to ensure a level, stable surface for the new outdoor unit. Indoors, technicians inspect electrical connections, line sets, and drainage lines, replacing aging copper or wiring where necessary.
Equipment Mounting and Connection
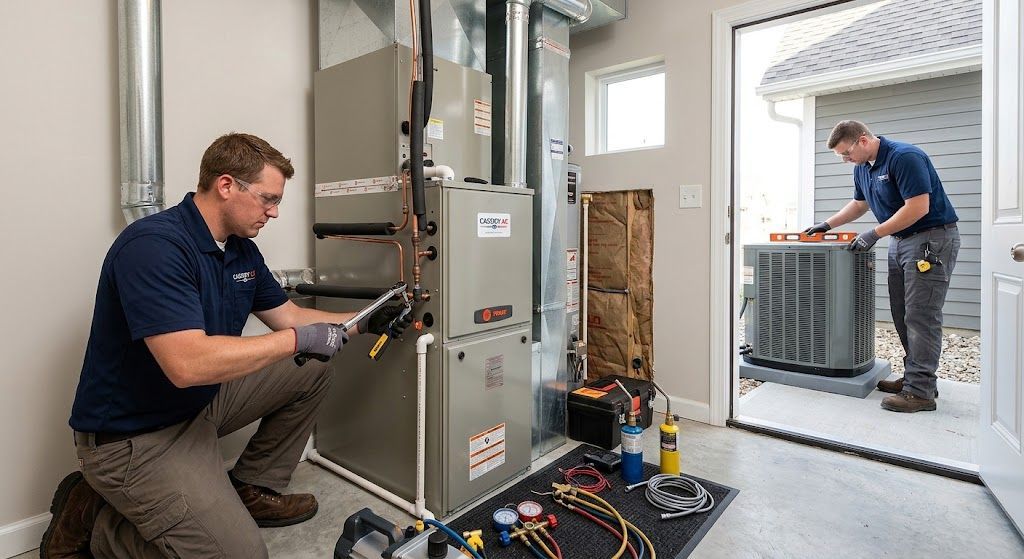
The new indoor and outdoor components are set into place. Technicians connect refrigerant lines, braze joints securely, wire electrical controls, and integrate condensate drain systems.
Vacuuming and Refrigerant Charging
Before starting the system, technicians draw a deep vacuum within the refrigerant lines to evacuate moisture, air, and non-condensable gases. Once vacuum testing verifies zero leaks, the system is charged with the precise manufacturer-specified volume of refrigerant.
System Calibration and Testing
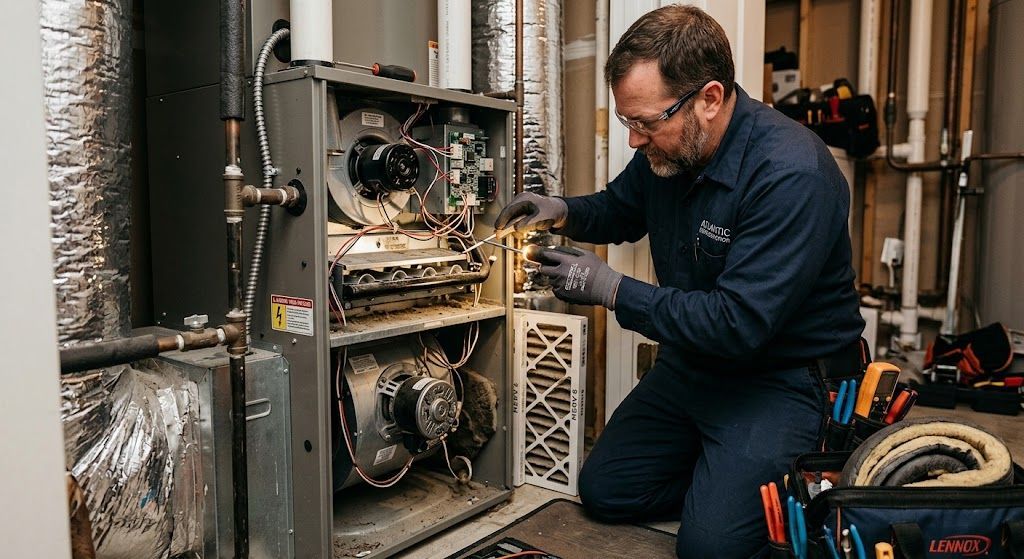
The installation concludes with comprehensive operational testing. Technicians measure airflow rates, check static pressures, verify thermostat communication, and record operating temperatures to confirm the machinery operates within manufacturer specifications.
Step 7: Establish a Routine Maintenance Schedule
Your investment doesn't end when the installation crew leaves. Consistent ongoing maintenance protects your machinery, preserves manufacturer warranties, and sustains peak energy efficiency over time.
Develop a regular maintenance routine that includes key preventive care steps:
- Change Air Filters Regularly: Replace standard furnace and air handler filters every 30 to 90 days depending on pet ownership, household occupancy, and filter type.
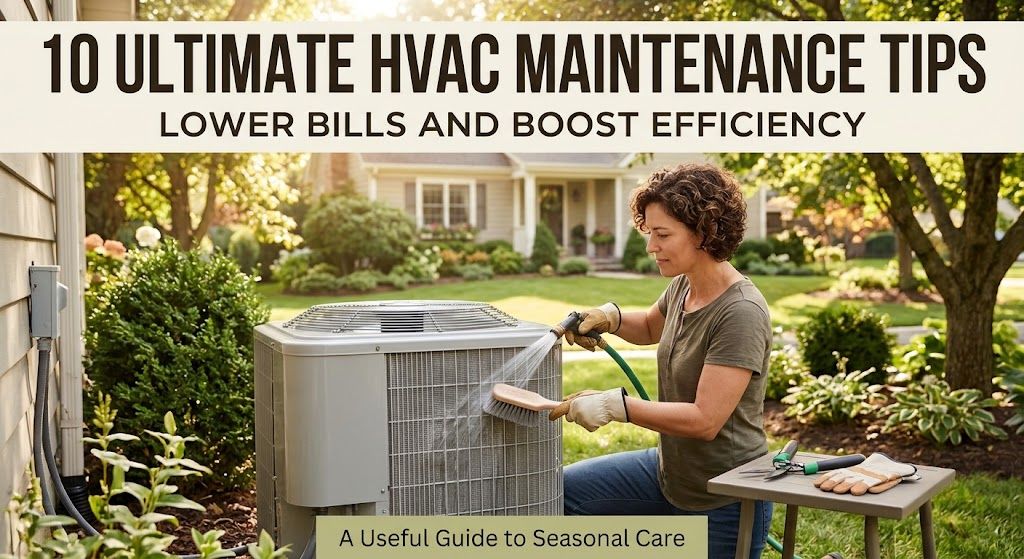
- Keep Outdoor Units Clear: Maintain a two-foot perimeter around your outdoor condenser pad. Trim back foliage, weeds, grass clippings, and accumulated autumn leaves.
- Inspect Condensate Drain Lines: Check that condensate lines drain freely to prevent water backup, mold growth, or moisture damage around your indoor equipment.
- Schedule Annual Inspections: Arrange professional bi-annual tune-ups—once in spring for your cooling equipment and once in fall for your heating system.
When you need a professional team to manage your home comfort project, work with certified specialists who focus on precise sizing, quality workmanship, and reliable ongoing support. Explore options for your next
HVAC install to schedule an in-home evaluation and receive a customized equipment recommendation.
Key Questions to Ask Your Contractor Before Installation
Before signing a contract or authorizing work, review these essential operational questions with your contractor:
- Will you perform a formal load calculation to determine equipment sizing?
- Are all technicians certified, insured, and licensed to handle refrigerants?
- What warranties apply to labor and individual equipment components?
- Will you handle local permitting requirements and coordinate post-installation building inspections?
- Does the project quote include the removal and eco-friendly disposal of old equipment?
Taking time to plan your upgrade guarantees high performance, improved indoor air quality, and consistent home comfort for many years to come.